Set up a voice assistant with Home Assistant Cloud
The fastest way to get a great-sounding voice assistant up and running is to use the speech-to-text and text-to-speech voices included with a Home Assistant Cloud subscription. They handle the heavy parts (turning your speech into text and turning Home Assistant’s reply into a natural-sounding voice) on Nabu Casa’s servers, so you can use Assist without needing extra hardware.
Only the audio is sent to the cloud for processing. Everything Assist actually does in your home, opening lights, locking doors, running automations, still happens on your own Home Assistant.
If you would prefer to keep absolutely everything local, see the fully local voice assistant guide instead.
Setting up a cloud Assist pipeline
To have the fastest processing voice assistant experience, follow these steps:
-
If you haven’t done this already, enable Home Assistant Cloud.
-
As soon as you’re connected to Home Assistant Cloud, a voice assistant has been created for you.
- This voice assistant is using text-to-speech and speech-to-text engines based on the region settings of your Home Assistant user.
-
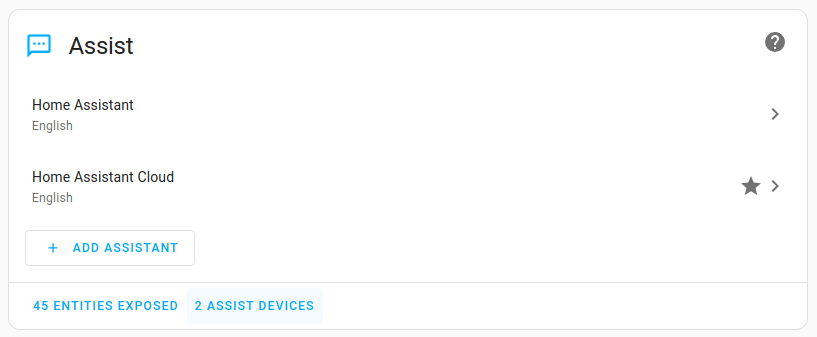
To view the settings, go to Settings > Voice assistants and under Assist, select Home Assistant Cloud.
-
Troubleshooting: If you do not see any assistants here, you are not using the default configuration. In this case, you need to add the following to your
configuration.yamlfile:# Example configuration.yaml entry assist_pipeline:
-
-
If the predefined language settings work for you, skip the next step.
-
If you want to make some changes:
- If you like, change the name. You can pick any name that is meaningful to you.
- If you do not agree with the predefined language, select the language that you want to speak.
- Under Conversation agent, select Home Assistant.
- Under Speech-to-text, select the language you want to speak.
- Under Text-to-speech, select the language you want Assist to use when speaking to you.
- Depending on your language, you may be able to select different language variants.
-
That’s it. You can now speak to your device, and the device can answer in the language you defined.
Next steps
Once Assist is configured, you can start using it. You can now talk through your device (Android, iOS or Voice Preview edition.
To get the best out of the voice interaction, don’t forget to check the best practices.