IFTTT
IFTTT is a web service that allows users to create chains of simple conditional statements, so-called “Applets”. With the IFTTT integration, you can trigger applets through the “Webhooks” service (which was previously the “Maker” channel). This requires the Pro plan or higher.
Prerequisites
To be able to receive events from IFTTT, your Home Assistant instance needs to be accessible from the web and you need to have the external URL configured, or use your Nabu Casa account’s webhook URL from the IFTTT integration.
Configuration
To add the IFTTT integration to your Home Assistant instance, use this My button:

If the above My button doesn’t work, you can also perform the following steps manually:
-
Browse to your Home Assistant instance.
-
In the bottom right corner, select the
Add Integration button. -
From the list, select IFTTT.
-
Follow the instructions on screen to complete the setup.
Receiving events from IFTTT
Events coming in from IFTTT will be available as events in Home Assistant and are fired as ifttt_webhook_received. The data specified in the IFTTT recipe Body section will be available as the event data. You can use this event to trigger automations. Use POST as method.
For example, set the body of the IFTTT webhook to:
{ "action": "call_service", "service": "light.turn_on", "entity_id": "light.living_room" }
You then need to consume that incoming information with the following automation:
automation:
- alias: "The optional automation alias"
  triggers:
    - trigger: event
      event_type: ifttt_webhook_received
      event_data:
        action: call_service  # the same action 'name' you used in the Body section of the IFTTT recipe
  actions:
    - action: '{{ trigger.event.data.service }}'
      target:
        entity_id: '{{ trigger.event.data.entity_id }}'
Sending events to IFTTT
# Example configuration.yaml entry
ifttt:
  key: YOUR_API_KEY
key is your API key which can be obtained by viewing the Settings of the Webhooks applet. It’s the last part of the URL (e.g., https://maker.ifttt.com/use/MYAPIKEY) you will find under My Applets > Webhooks > Settings.
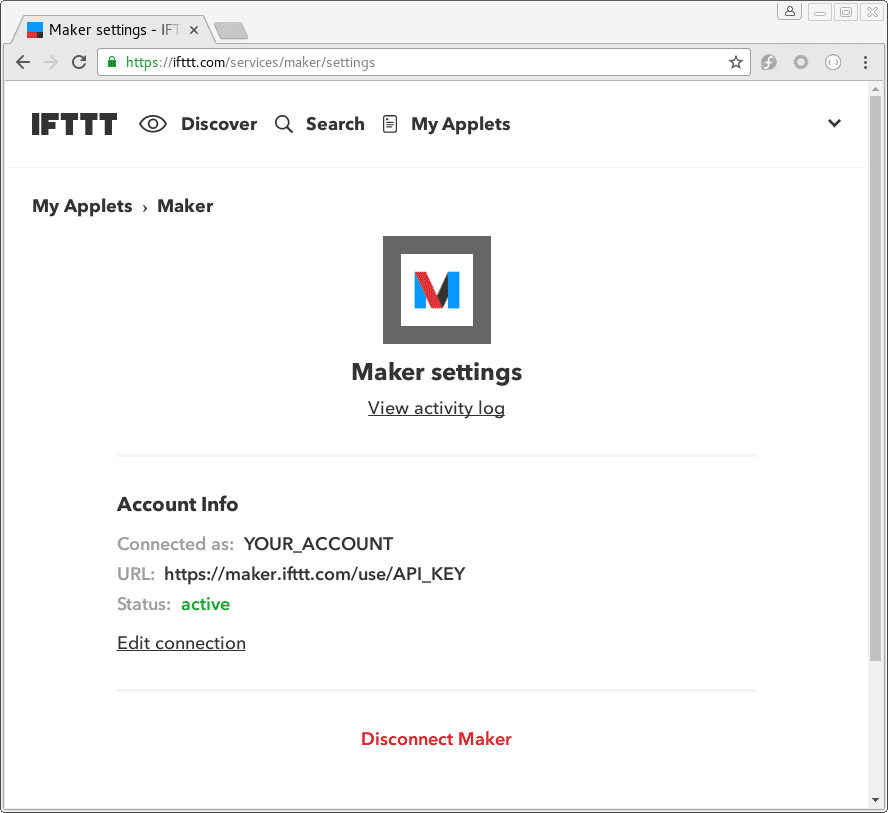
Once you have added your key to your configuration.yamlThe configuration.yaml file is the main configuration file for Home Assistant. It lists the integrations to be loaded and their specific configurations. In some cases, the configuration needs to be edited manually directly in the configuration.yaml file. Most integrations can be configured in the UI. [Learn more] file, restart your Home Assistant instance. This will load up the IFTTT integration and make an action available to trigger events in IFTTT.
After restarting the server, be sure to watch the console for any logging errors that show up in red, white or yellow.
Multiple IFTTT keys
If you have multiple IFTTT users you can specify multiple IFTTT keys with:
# Example configuration.yaml entry
ifttt:
  key:
    YOUR_KEY_NAME1: YOUR_API_KEY1
    YOUR_KEY_NAME2: YOUR_API_KEY2
Testing your trigger
You can use Tools to test your Webhooks trigger. To do this, go to Settings > Tools > Actions. Select IFTTT: Trigger as the action and fill in the following values:
When your screen looks like this, select the Perform action button.
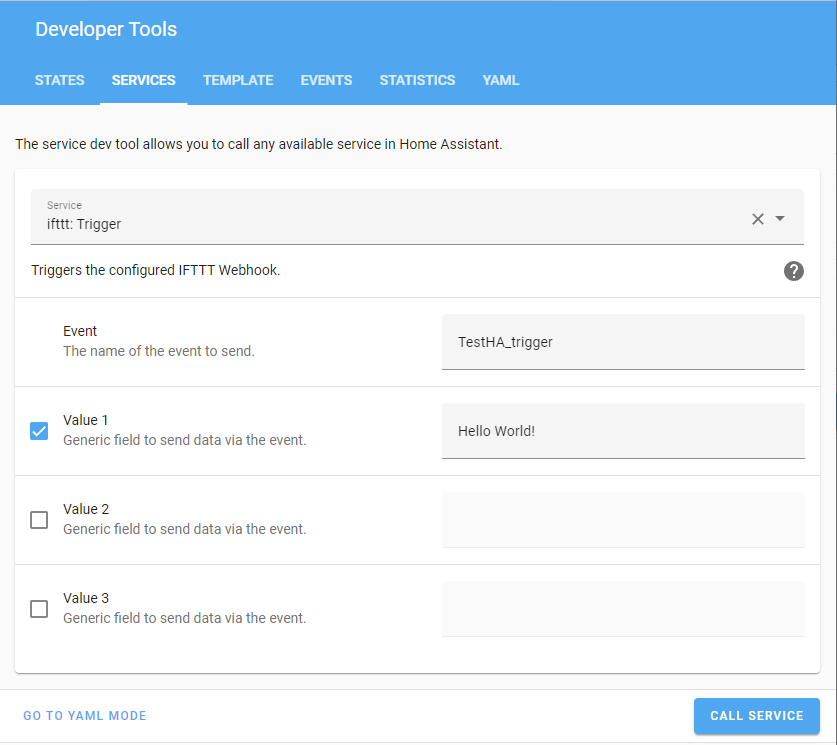
By default, the trigger is sent to all the API keys from configuration.yamlThe configuration.yaml file is the main configuration file for Home Assistant. It lists the integrations to be loaded and their specific configurations. In some cases, the configuration needs to be edited manually directly in the configuration.yaml file. Most integrations can be configured in the UI. [Learn more]. If you
want to send the trigger to a specific key use the target field:
| Field | Value |
|---|---|
| domain | ifttt |
| service | trigger |
| data | {"event": "EventName", "value1": "Hello World", "target": "YOUR_KEY_NAME1"} |
The target field can contain a single key name or a list of key names.
Setting up an applet
Press the Create button and Add on If This. Search for Webhooks.
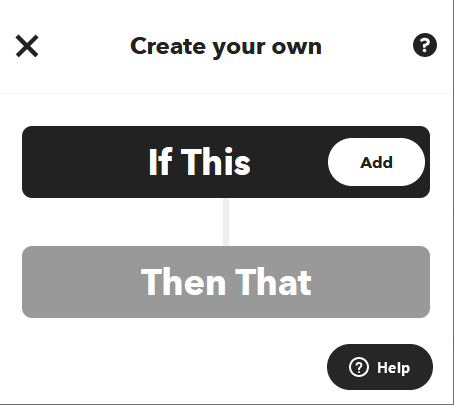
Choose Webhooks service.
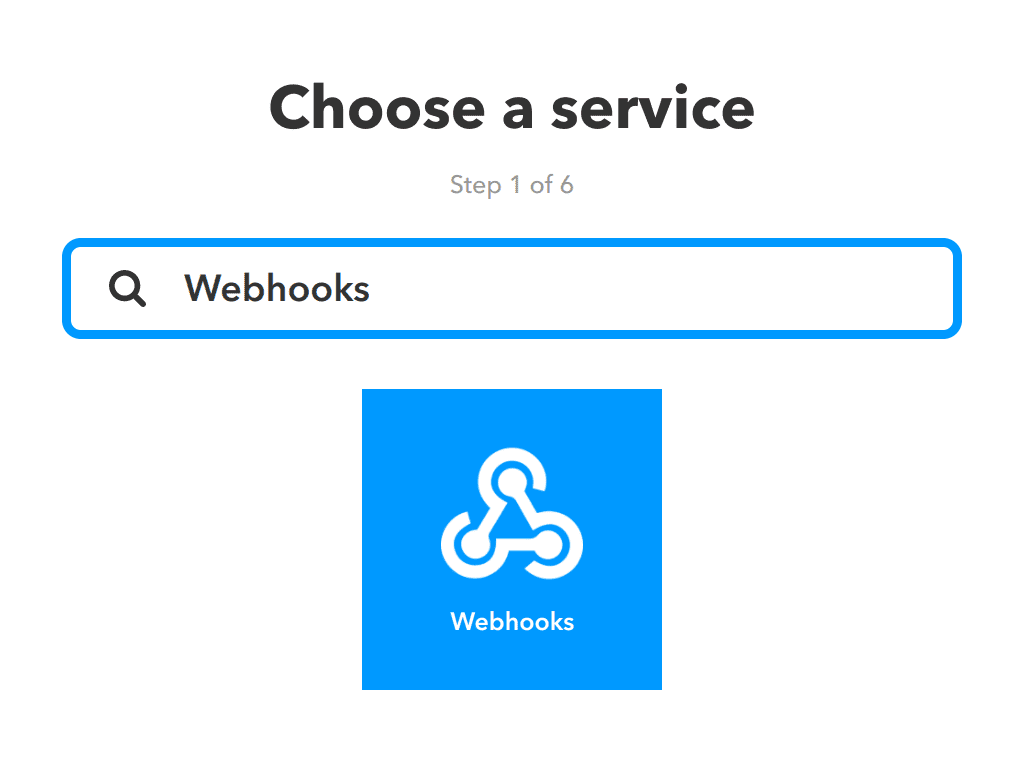
Select Receive a web request.
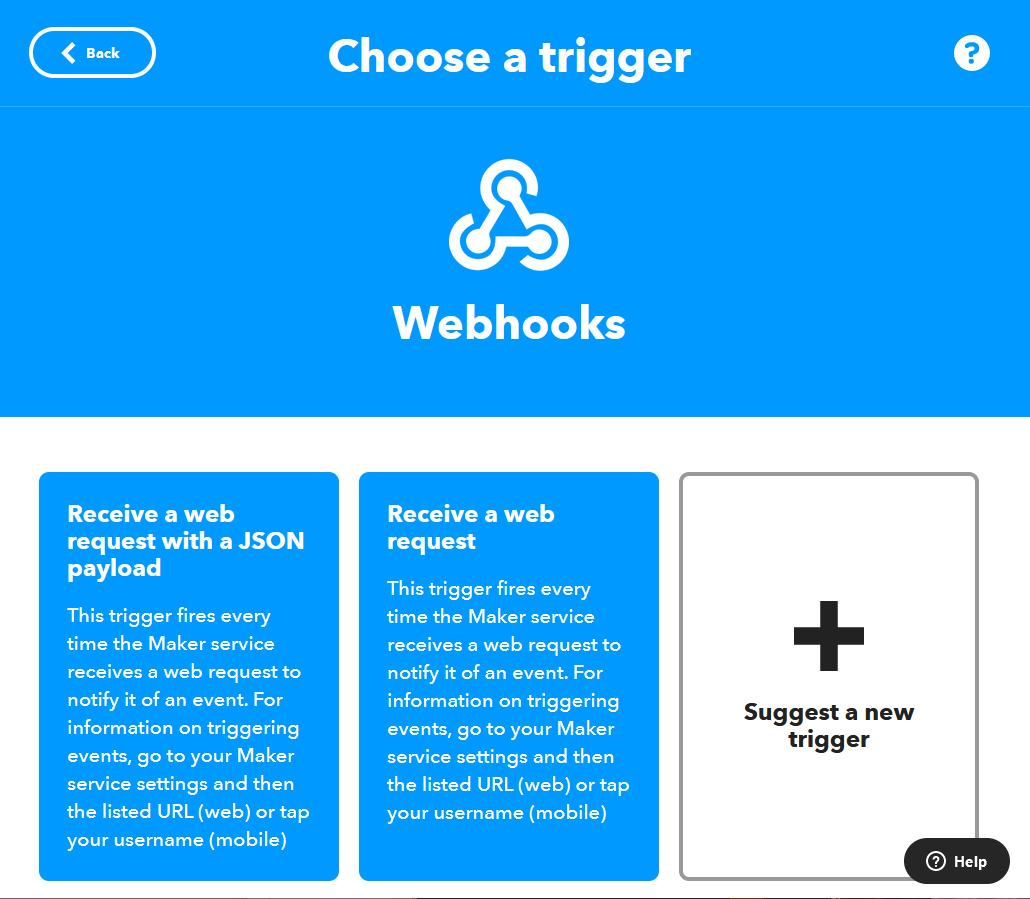
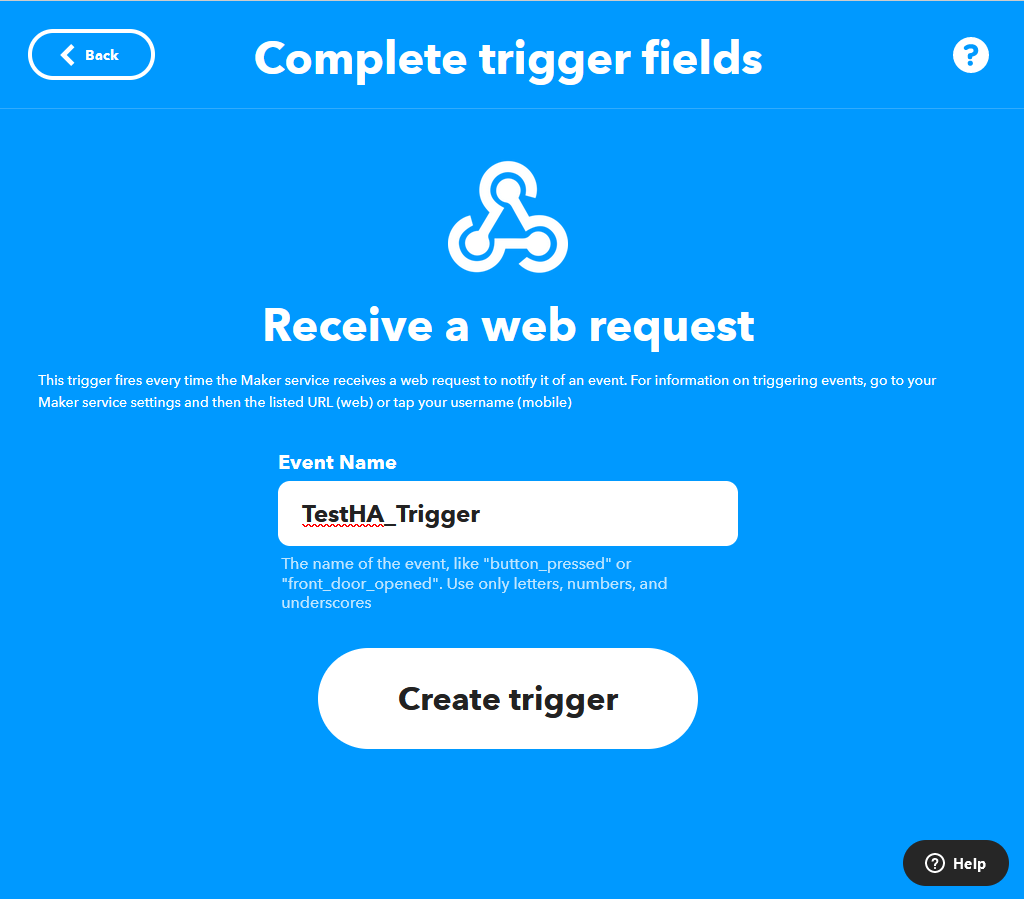
You need to set up a unique trigger for each event you sent to IFTTT.
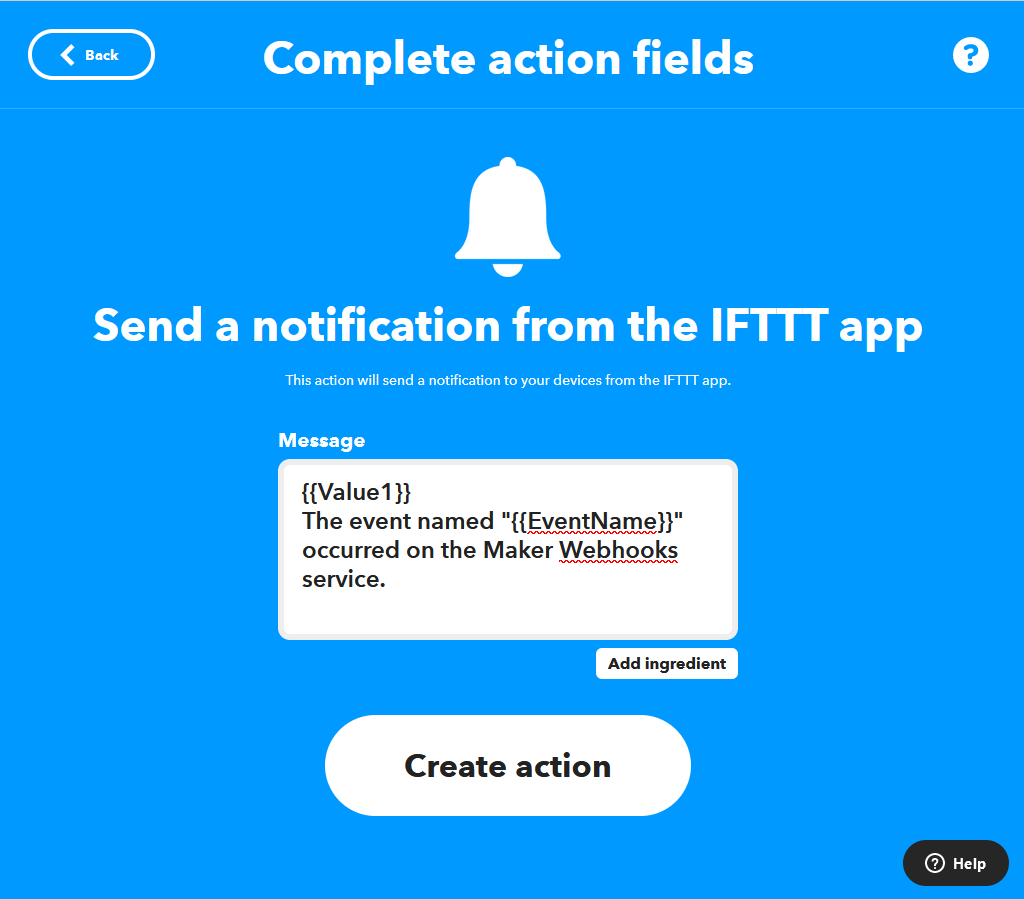
Add the Then That action. The below example sends a notification to the IFTTT mobile app and adds value1 to the message:
# Example configuration.yaml Automation entry
automation:
  alias: "Startup Notification"
  triggers:
    - trigger: homeassistant
      event: start
  actions:
    - action: ifttt.trigger
      data: {"event":"TestHA_Trigger", "value1":"Hello World!"}
IFTTT can also be used in scripts and with templates. Here is the above automation broken into an automation and script using variables and templates.
# Example configuration.yaml Automation entry
automation:
  alias: "Startup Notification"
  triggers:
    - trigger: homeassistant
      event: start
  actions:
    - action: script.ifttt_notify
      data:
        value1: "HA Status:"
        value2: "{{ trigger.event.data.entity_id.split('_')[1] }} is "
        value3: "{{ trigger.event.data.to_state.state }}"
#Example Script to send TestHA_Trigger to IFTTT but with some other data (homeassistant UP).
ifttt_notify:
  sequence:
    - action: ifttt.trigger
      data: {"event":"TestHA_Trigger", "value1":"{{ value1 }}", "value2":"{{ value2 }}", "value3":"{{ value3 }}"}
List of actions
The IFTTT integrationIntegrations connect and integrate Home Assistant with your devices, services, and more. [Learn more] provides the following actions. Each link below opens a dedicated page with examples, parameters, and a step-by-step UI walkthrough.
-
Push alarm state (
ifttt.push_alarm_state) Updates the state of an IFTTT alarm control panel. -
Trigger (
ifttt.trigger) Sends an event to IFTTT, to start your IFTTT applets.
For an overview of every action across all integrations, see the actions reference.
IFTTT automation examples
With the IFTTT trigger action, anything that happens in Home Assistant can start an IFTTT applet.
You don’t need to edit YAML to use these examples. Copy a YAML snippet from this page, open the automation editor in Home Assistant, and press Ctrl+V (or Cmd+V on Mac). Home Assistant automatically converts the pasted YAML into the visual editor format, whether it’s a full automation, a single trigger, a condition, or an action.
Automation: tell IFTTT when Home Assistant starts
Send an event to IFTTT every time Home Assistant starts. In IFTTT, an applet with the Webhooks trigger for the home_assistant_started event can then send you a notification.
-
Trigger: Home Assistant
- Event: Start
-
Action: Trigger
-
Event:
home_assistant_started -
Value 1:
Home Assistant is up and running
-
Event:
YAML example for telling IFTTT when Home Assistant starts
alias: "Tell IFTTT when Home Assistant starts"
triggers:
  - trigger: homeassistant
    event: start
actions:
  - action: ifttt.trigger
    data:
      event: home_assistant_started
      value1: "Home Assistant is up and running"
Automation: tell IFTTT when the front door opens
Send an event to IFTTT when the front door opens, for example to log it in a spreadsheet with an IFTTT applet.
-
Trigger: State changed
-
Entity: Front door (
binary_sensor.front_door) - To: Open
-
Entity: Front door (
-
Action: IFTTT: Trigger
-
Event:
front_door_opened -
Value 1:
Front door
-
Event:
YAML example for telling IFTTT when the front door opens
alias: "Tell IFTTT when the front door opens"
triggers:
  - trigger: state
    entity_id: binary_sensor.front_door
    to: "on"
actions:
  - action: ifttt.trigger
    data:
      event: front_door_opened
      value1: "Front door"