Tasmota
This integrationIntegrations connect and integrate Home Assistant with your devices, services, and more. [Learn more] allows you to control Tasmota devices over MQTT.
Requirements
- MQTT broker and the MQTT integration set up in Home Assistant.
- Tasmota devices’ MQTT setting configured to communicate with the MQTT broker.
- Tasmota devices flashed with version 9.2, or later (
tasmota-lite.bindoes not support this integration). - Tasmota devices configured for native discovery (
SetOption19 0). Go to the web interface of your Tasmota device, select Tools and then Console. Where you can see the placeholder Enter command type or pasteSetOption19 0and hit Return. - Although the Tasmota integration supports custom fulltopic it is strongly suggested to leave fulltopic at its default, Tasmota does not prevent setting an invalid or non-unique fulltopic, for example a fulltopic without the
%prefix%or%topic%tokens. - The
Camerafunctionality of tasmota32-webcam based devices is supported only when the Tasmota device and the Home Assistant server are on the same local network.
Supported features
Tasmota Buttons, Fans, Lights, Relays, Sensors, Shutters, Switches and Cameras are supported.
- Tasmota Buttons will be added as Home Assistant
automation triggerswhenSetOption73is enabled. Nobinary_sensorentity will be created. You can find the availableautomation triggerson the device screen.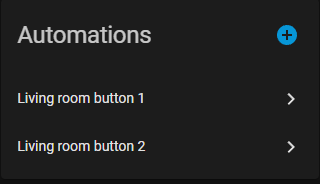
- Tasmota Lights will be added as Home Assistant
lightentities. Single channel Dimmers, RGB lights, RGB lights with Color Temperature control and RGB lights with White control are supported. - Tasmota Relays will be added as Home Assistant
switchentities, ifSetOption30 0. IfSetOption30 1, relays will be added aslightentities. - Tasmota Sensors will be added as Home Assistant
sensorentities. - Tasmota Shutters will be added as Home Assistant
coverentities. Currently only Shutter modes 1 to 4 are supported. Shutter mode 5 and Tuya shutters are not supported. - Tasmota Switches will be added as either Home Assistant
binary_sensorentities orautomation triggersdepending on theswitchmodeused whenSetOption114is enabled. - The fan functionality in Tasmota devices with module configured as
iFan02oriFan03will be added as Home Assistantfanentities. Tuya fans are not supported. - The camera functionality in ESP32 Tasmota devices with tasmota32-webcam firmware will be added as Home Assistant
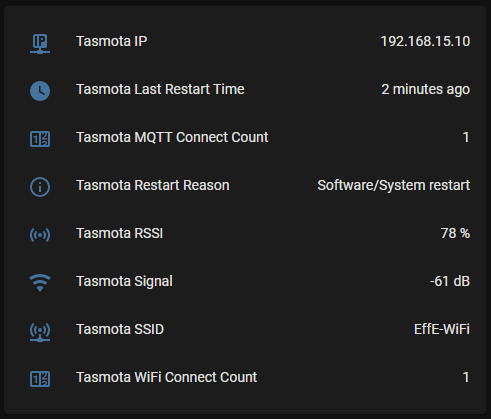
Cameraentities. Note that this functionality is supported only when the Tasmota device and the Home Assistant server are on the same network. - The integration will also create up to eight Status Sensors, each one with a different information. Please note all the Status Sensors are disabled by default.
Configuration
To add the Tasmota integration to your Home Assistant instance, use this My button:

If the above My button doesn’t work, you can also perform the following steps manually:
-
Browse to your Home Assistant instance.
-
In the bottom right corner, select the
Add Integration button. -
From the list, select Tasmota.
-
Follow the instructions on screen to complete the setup.
You must also configure each Tasmota device’s MQTT settings to communicate with whatever MQTT broker you are using. Enter the broker address under host, and enter a username/password combination that allows access to the broker.
If you are using the Home Assistant Mosquitto Broker app, first create a new Home Assistant user under Settings > People. Then, in Tasmota > Configure MQTT under “Host” enter the address of your Home Assistant instance and under “User” and “Password” enter the Home Assistant user you just created.