Flock
The flock integration uses Flock.com
Setup
Go to the Flock.com Admin website
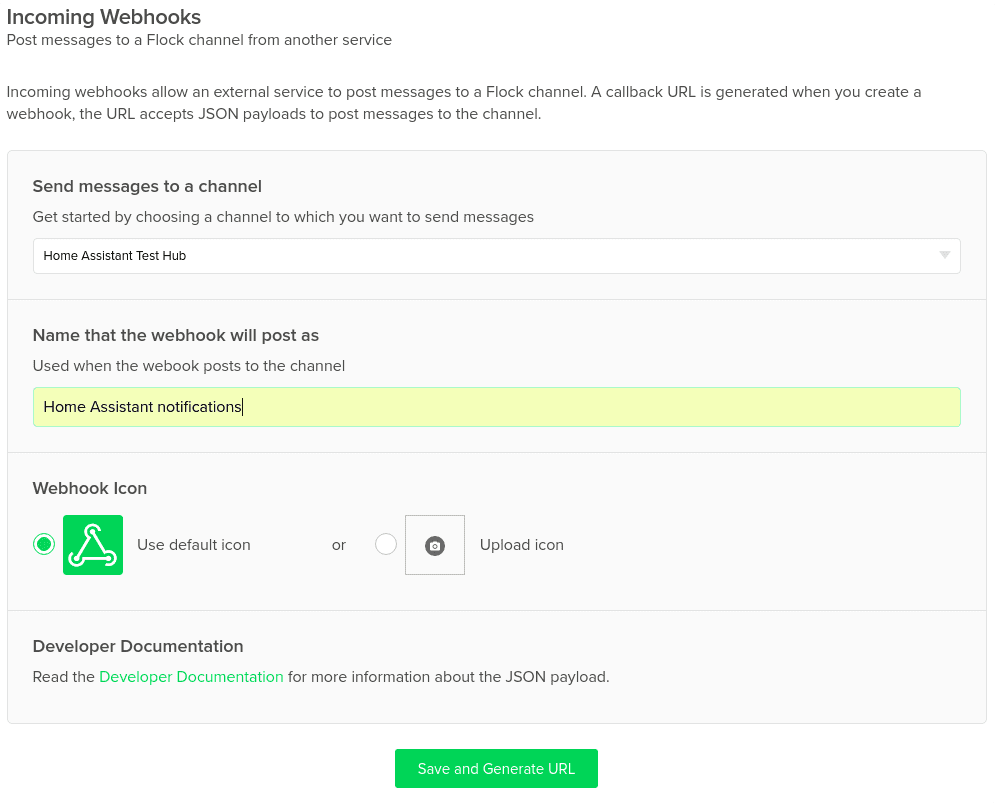
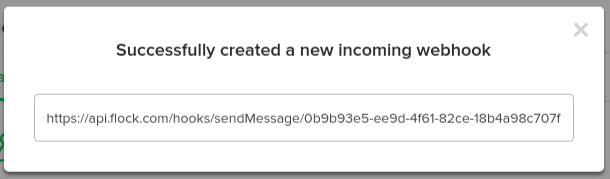
You will need the last part of the URL which is the access_token for your room.
Configuration
To add Flock notifications to your installation, add the following to your configuration.yamlThe configuration.yaml file is the main configuration file for Home Assistant. It lists the integrations to be loaded and their specific configurations. In some cases, the configuration needs to be edited manually directly in the configuration.yaml file. Most integrations can be configured in the UI. [Learn more] file.
After changing the configuration.yamlThe configuration.yaml file is the main configuration file for Home Assistant. It lists the integrations to be loaded and their specific configurations. In some cases, the configuration needs to be edited manually directly in the configuration.yaml file. Most integrations can be configured in the UI. [Learn more] file, restart Home Assistant to apply the changes. The integration is now shown on the integrations page under Settings > Devices & services. Its entities are listed on the integration card itself and on the Entities tab.
# Example configuration.yaml entry
notify:
  - name: NOTIFIER_NAME
    platform: flock
    access_token: YOUR_ROOM_TOKEN
To use notifications, please see the getting started with automation page.