DNS IP
The DNS IP integrationIntegrations connect and integrate Home Assistant with your devices, services, and more. [Learn more] will expose an IP address, fetched via DNS resolution (every 2 minutes), as its value. It provides both IPv4 and IPv6 lookup as separate sensors depending on accessibility to resolvers.
- When you enable the integrationIntegrations connect and integrate Home Assistant with your devices, services, and more. [Learn more] with the default value, it will query the OpenDNS nameservers with the hostname
myip.opendns.com, which will resolve to your external/public IP address. - If you specify a
hostname, a regular DNS lookup will be performed, providing you the IP the hostname resolves to. If your hostname resolves to multiple IP addresses, the lowest IP will be returned as the state. The first 10 IPs will be returned in ascending order in theip_addressesattribute.
Configuration
To add the DNS IP service to your Home Assistant instance, use this My button:

If the above My button doesn’t work, you can also perform the following steps manually:
-
Browse to your Home Assistant instance.
-
In the bottom right corner, select the
Add Integration button. -
From the list, select DNS IP.
-
Follow the instructions on screen to complete the setup.
Options
To define options for DNS IP, follow these steps:
-
In Home Assistant, go to Settings > Devices & services.
-
If multiple instances of DNS IP are configured, choose the instance you want to configure.
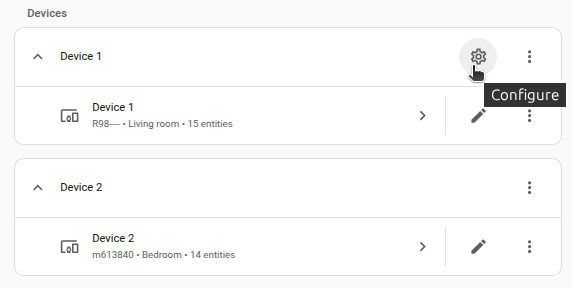
-
On the card, select the cogwheel
. - If the card does not have a cogwheel, the integration does not support options for this device.
-
Edit the options, then select Submit to save the changes.