Adding integrations
Let’s start by adding your first integrationIntegrations connect and integrate Home Assistant with your devices, services, and more. [Learn more]. Home Assistant works with devices and services from over a thousand brands, and most of them can be added through the user interface in just a few steps.
In this tutorial, we will use the Workday integration. It can be used to automate based on workdays, days off, or holidays. No smart device is needed for this tutorial.
Prerequisites
This tutorial assumes that you have installed Home Assistant and have at least completed the onboarding steps.
Adding integrations
-
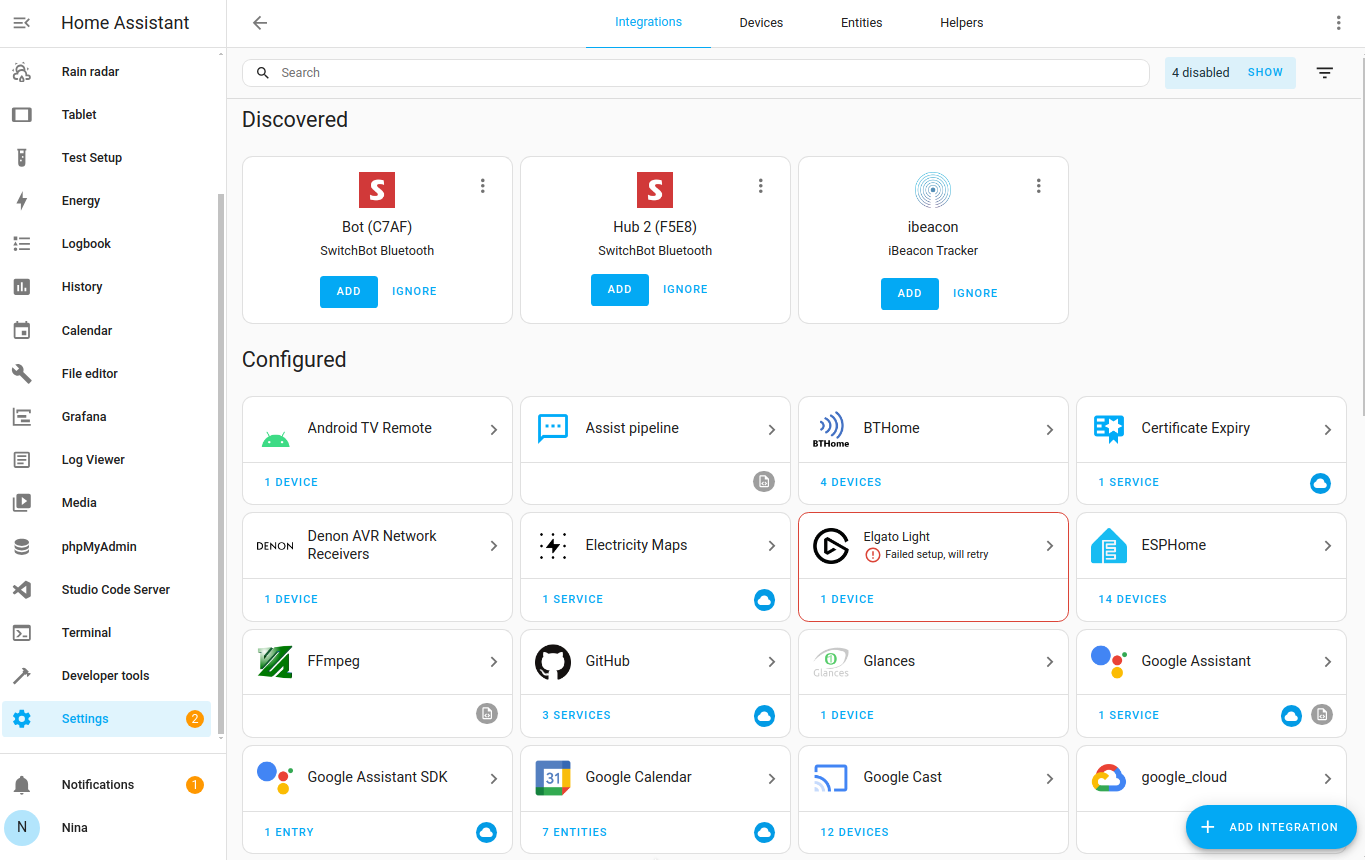
Go to Settings > Devices & services.
- The integrations page shows all the integrations you have already installed. Some of them were installed automatically.
- If devices were discovered in your network, you will see them in the Discovered section.
-
If there are any devices discovered for you, you can add them now.
- Under Discovered, on the integration, select Add.
- Follow the steps in the UI if additional configuration is required.
- If no devices were discovered, don’t worry, we will add an integration in the next step.
-
In the bottom-right corner, select Add integration.
-
Type
workdand select the Workday integration.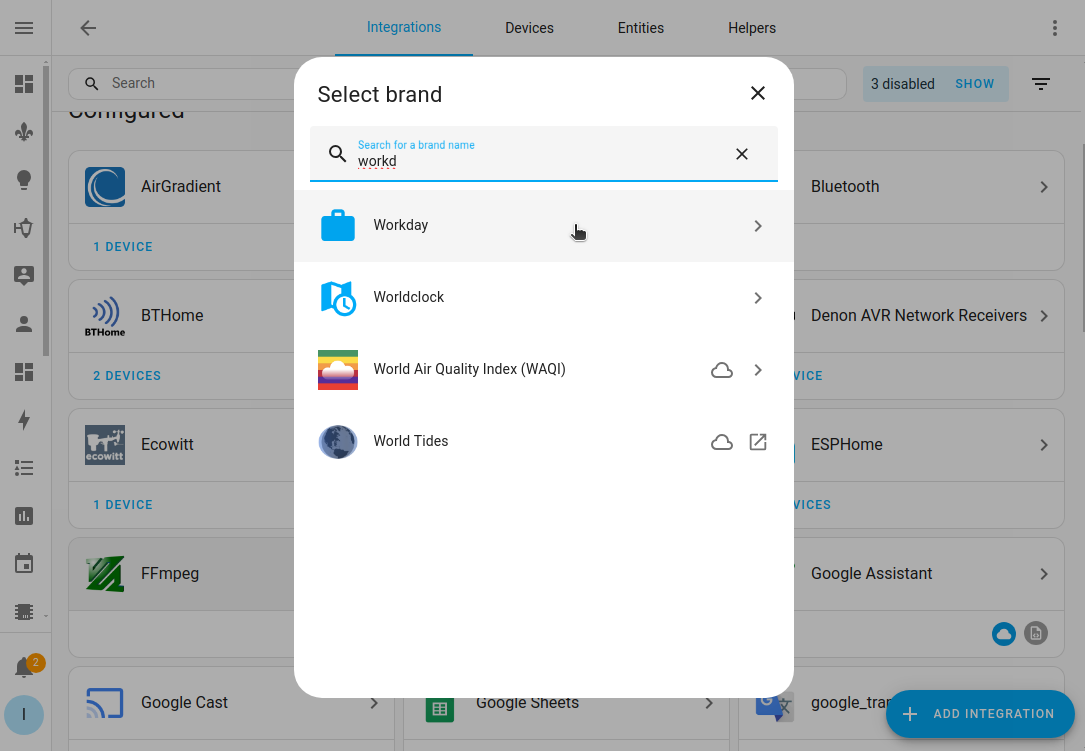
-
Give it a name, for example
Workday tomorrow, and select the country.- The country is used to determine the local Holidays.
- Select Submit, then Finish.
-
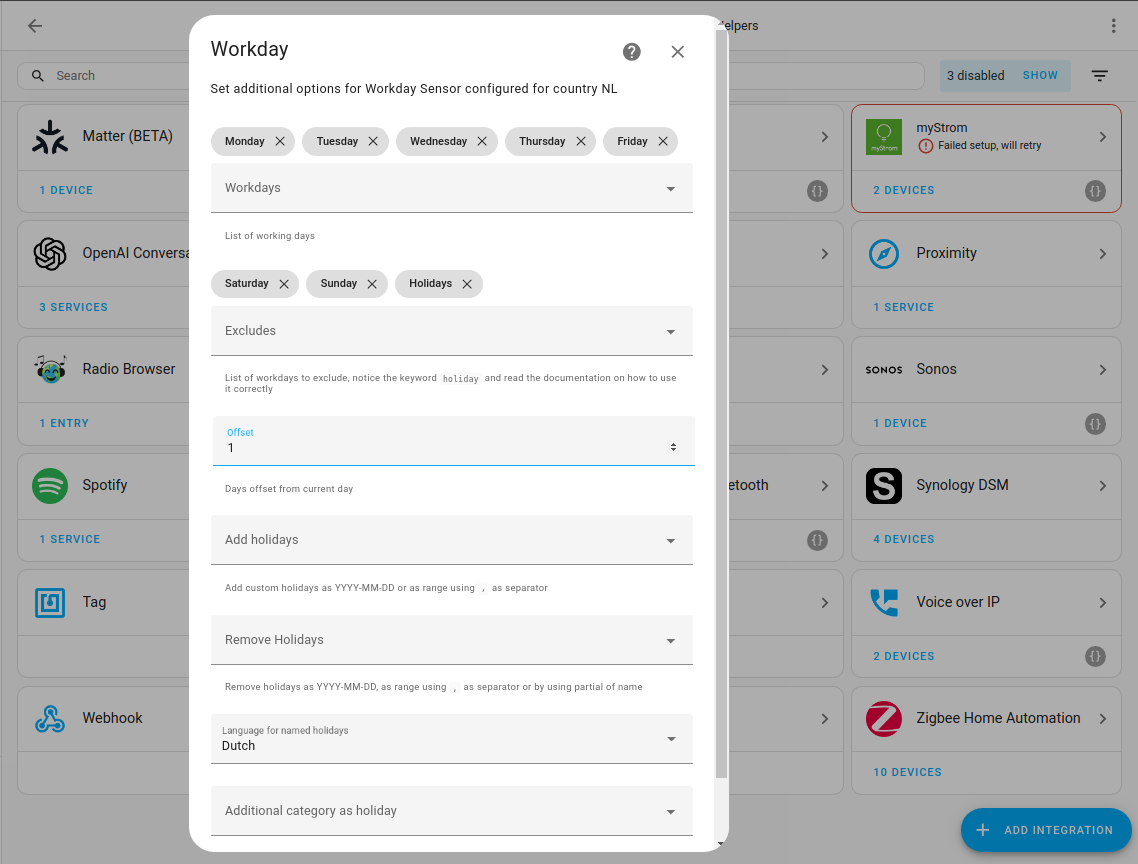
Configure the options.
- For example, if Monday is not a workday for you, select the “x” to remove it.
- To check if tomorrow is workday, under Offset, enter
1. - Fill in all other options as needed. At a minimum, define the Holidays and Language.
- Select Submit.
-
Select the areaAn area in Home Assistant is a logical grouping of devices and entities that are meant to match areas (or rooms) in the physical world: your home. For example, the
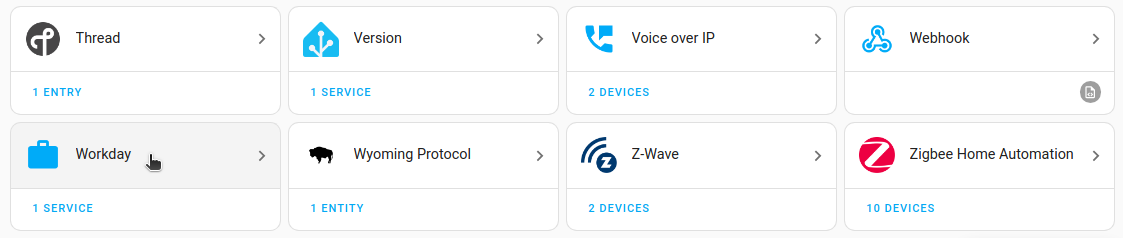
living roomarea groups devices and entities in your living room. [Learn more], for example, office, and select Finish. -
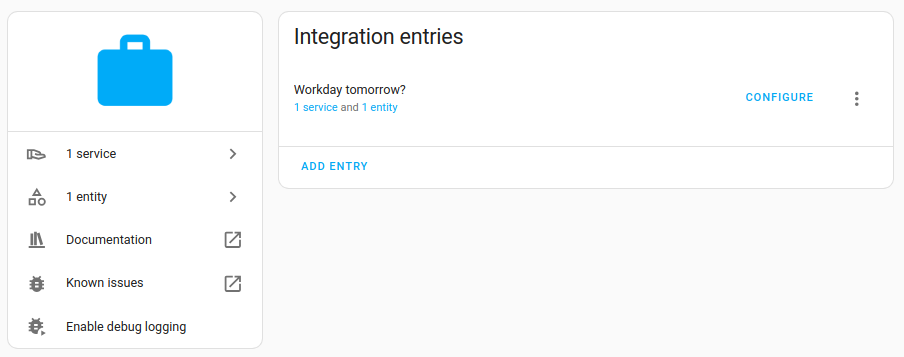
You now see the Workday integration in the list.
-
Congratulations! You’ve added your first integration. Job done.
-
Looking at integration details
-
Select the integration.
- This opens the integration entity page.
-
Select an entity.
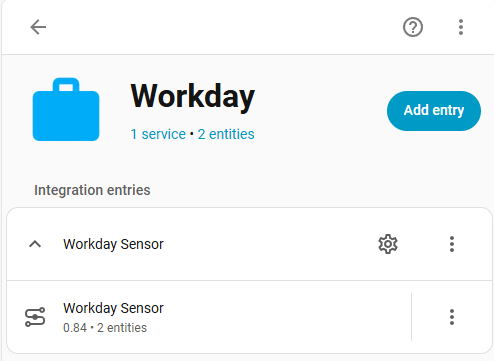
- We see that this integration has two entitiesAn entity represents a sensor, actor, or function in Home Assistant. Entities are used to monitor physical properties or to control other entities. An entity is usually part of a device or a service. [Learn more].
- A list of related automations, script and scenes.
- Activity of updates/changes related to the entity.
Modifying the integration
-
To change the name, select the pencil
on the top right. -
You can also add another Workday sensorSensors return information about a thing, for instance the level of water in a tank. [Learn more]. For example, if you want to know when your colleagues have a holiday.
- Go back to the integration entity page.
- Select Add entry, give it a name and define your options.
- Select the country of interest.
-
That’s it!
-
You have gained an overview of the integrations page and know where to find the integration details page, the sensor info page, and the entities table. -
You have learned to rename, modify, and delete an integration. - If you want to find more integrations, checkout the integration documentation.
- We are now ready to use Workday in an automation.
-