Automating Home Assistant
Now that your devices are connected, you can put them to work. AutomationsAutomations in Home Assistant allow you to automatically respond to things that happen in and around your home. [Learn more] let your home react to things on its own: turn the lights on when the sun goes down, lower the heat when everyone leaves, or remind you to close the garage door at bedtime. You build them with the visual automation editor, so you can follow this tutorial without writing a single line of code.
We are going to create two automations together: one that turns the lights on as the sun sets, and a second that dims them later in the evening on workdays.
Turning on the lights before sunset
Prerequisites
This tutorial assumes the following:
- You have installed Home Assistant
- You have completed the onboarding steps
- You have followed the steps on adding an integration
- You have a light that is integrated into Home Assistant
- If you don’t have a light yet, and are unsure what to buy, try Philips Hue, nanoleaf, or products supporting WLED
To automatically turn on the lights before sunset
-
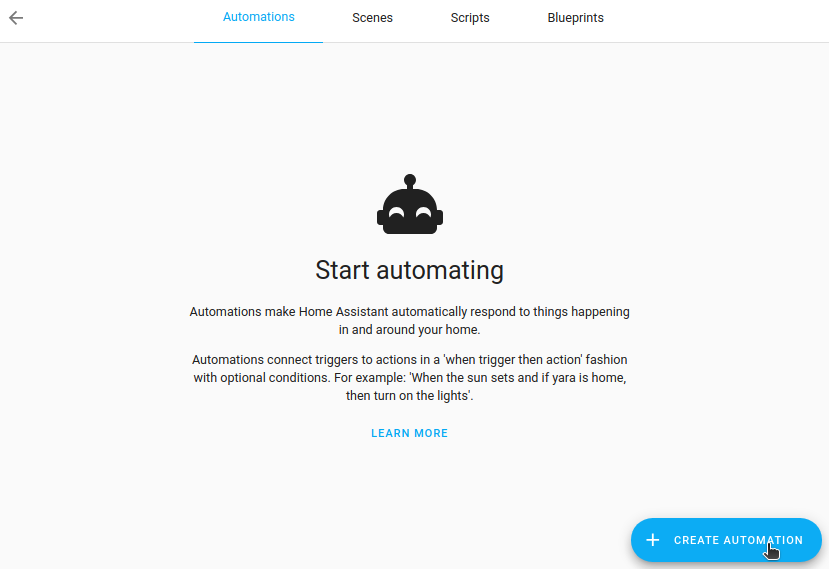
Go to Settings > Automations & scenes and select Create Automation.
-
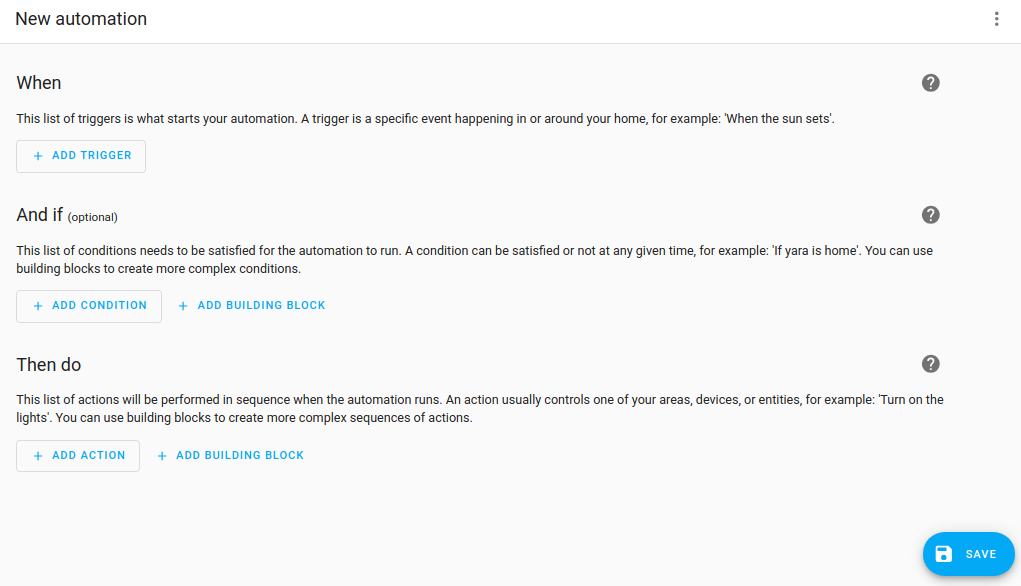
Then, select Create new automation. This brings up an empty automation page.
-
-
The first step is defining what should triggerA trigger is a set of values or conditions of a platform that are defined to cause an automation to run. [Learn more] the automation to run.
- In this case, we want to use the event of the sun setting to trigger our automation.
- Select Add trigger, type
Sunand select it.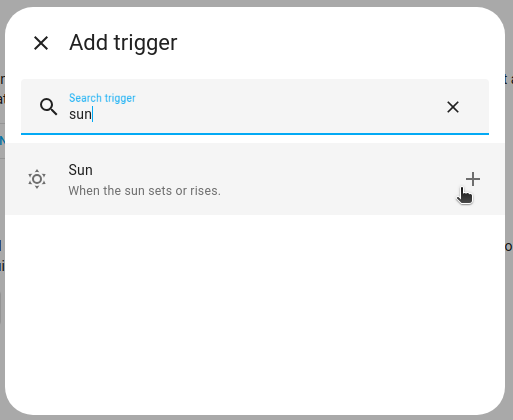
-
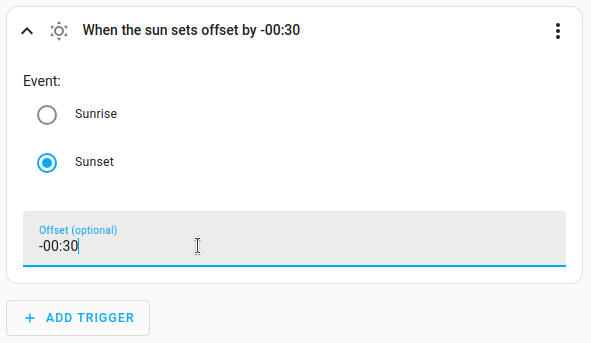
Select Sunset.
- We want the automation to be triggered a little before that, so let’s add
-00:30as the offset. This indicates that the automation will be triggered 30 minutes before sunset. Neat!
- We want the automation to be triggered a little before that, so let’s add
-
Once we have defined our trigger, we need to define what should happen.
- Select Add action.
-
Type
lightand select Light turn on.- For this automation, we’re going to turn on all lights in the living room, so let’s select the Area.
- This only works if your lights are assigned to an areaAn area in Home Assistant is a logical grouping of devices and entities that represents a room or space in your home, such as the living room, kitchen, or garage. [Learn more].
- To learn more about grouping devices in areas, refer to the area documentation.

-
To save the automation, select Save. Give the automation a name, add a Description, and Save again.
- When choosing a name, be specific, so that you can find it even when you have many automations. For example,
Turn on living room table light at sunset. - Now wait until it’s 30 minutes before sunset and see your automation magic!
- Or follow these steps to test your automation right away.
- When choosing a name, be specific, so that you can find it even when you have many automations. For example,
Dimming the lights the night before a workday
This automation dims the light at a specific time before a workday.
Prerequisites
This tutorial assumes the following:
- You have installed Home Assistant
- You have completed the onboarding steps
- You have followed the steps on adding an integration
- You have a dimmable light that is integrated into Home Assistant
To dim the light the night before a workday
-
Go to Settings > Automations & scenes and select Create automation.
-
Then, select Create new automation. This brings up an empty automation page.
-
-
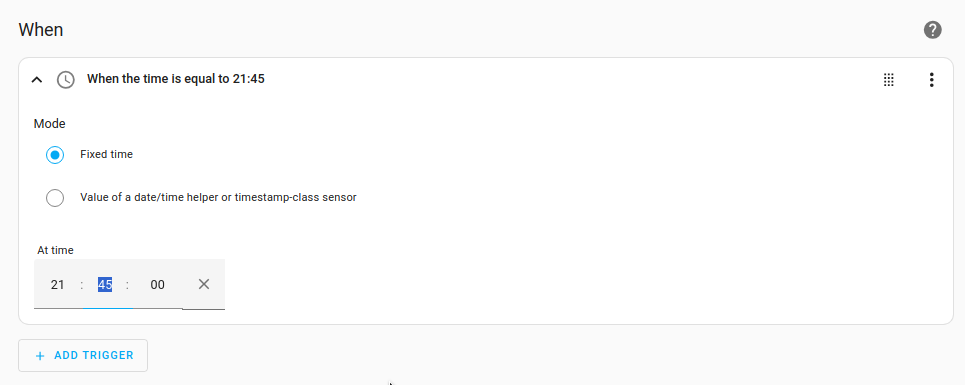
We want the light to start dimming at 21:45. This means we want an automation that is triggered by time.
- Select Add trigger > Time and location > Time.
- Select Fixed time and enter the time.
-
We want to do this only if tomorrow is a workday.
- Select Add condition > Entity > State.
- Under Entity, enter
workdand select your workday sensor. - Under State, select On.
-
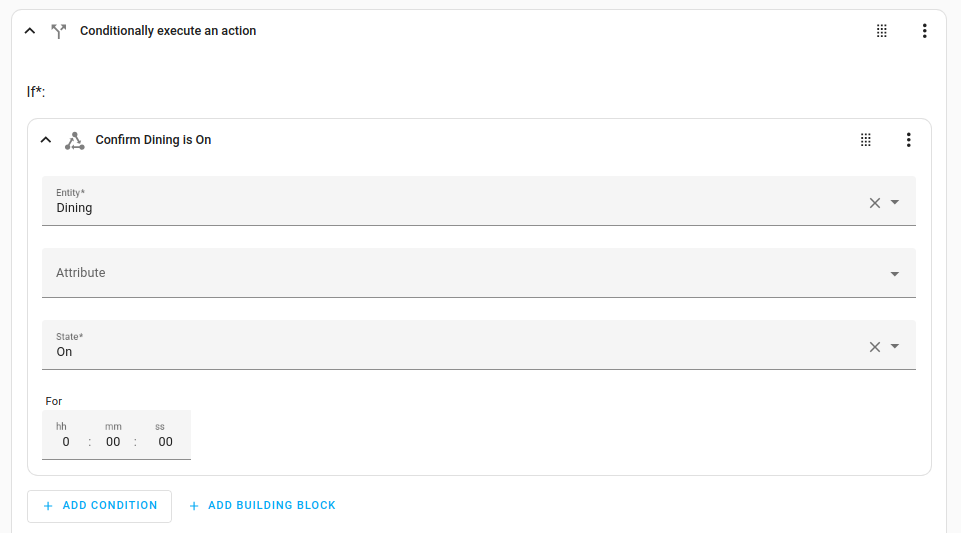
Next, we want to make sure the light is only dimmed when it is actually on. No reason to do this if the light is not on.
- To achieve this, we use an If-then action. Select Add action > Building blocks > If-then.
- You now get a block called Conditionally execute an action. From the Entity list, select your light.
- Under If, select Add condition > Entity > State.
- Under State, select On.
-
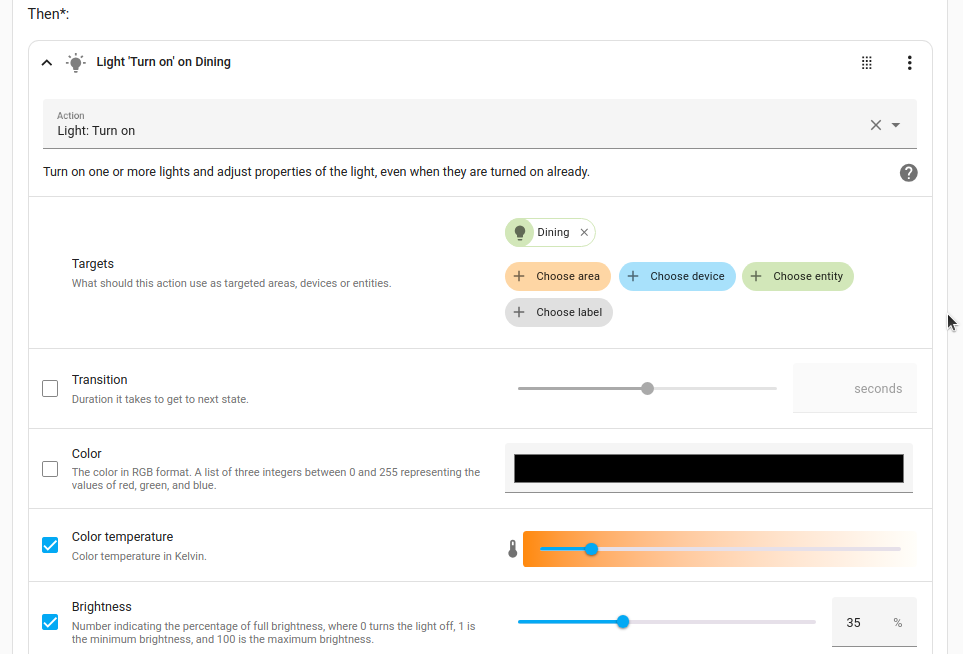
Now we want to define the action that is performed when the condition is true (when the light was on).
- Under Then, select Add action > Light turn on.
- Under Entity, select your light.
- Define the light settings, such as brightness, temperature, or color. The available settings depend on your light.
-
To save the automation, select Save. Give the automation a name (for example,
dim living room table light night before workday), add a Description, and Save again.
If after completing this getting started you are interested in reading more about automations, we recommend the following pages:
Please note, these pages may require a bit more experience with Home Assistant than you probably have at this point of this tutorial.